🔌 How to Connect Your “Play-In” Wireless Monitor to the Mr. Rebounder® App
Connecting your Play-In Wireless Monitor to the Mr. Rebounder® App ensures accurate performance tracking and a seamless training experience. Follow these easy steps to get started:
✅ Step 1: Power on Your “Play-In” Wireless Monitor
- Locate the power switch on the back of the device.
- Slide the switch to turn it on (Note: the button will not stay in the slid position).
- A green light will emit, confirming your device is powered on and ready to connect.

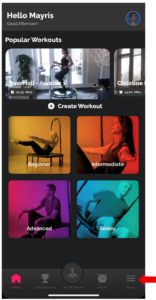
📱 Step 2: Log in to the Mr. Rebounder® App
- Open the Mr. Rebounder® App on your device.
- Tap the three horizontal lines (menu icon) located in the bottom right corner of the home screen.
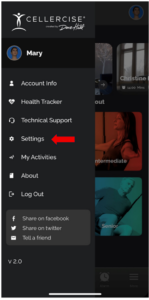
⚙️ Step 3: Access Settings
In the navigation menu, tap on Settings to access your app’s preferences.
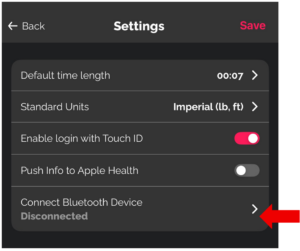
🔗 Step 4: Connect to Bluetooth
Inside Settings, tap on Connect Bluetooth Device.
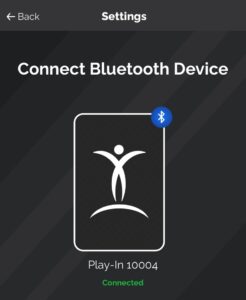
📡 Step 5: Select the “Play-In” Monitor
- Tap the Play-In section.
- Your monitor will begin connecting via Bluetooth.
- While on this screen, you can also check the battery level of your Play-In Monitor.

💡 Step 6: Confirm Connection
- Once connected:
- A confirmation screen will appear in the app.
- The light on your Play-In Monitor will turn blue, indicating a successful connection.

❗Troubleshooting Tip:
- If the Bluetooth connection is lost, the light on your Play-In Monitor will turn red.
- Make sure Bluetooth is enabled on your device.
- Ensure the Play-In Monitor is charged and within range.